At this point in our half-bath makeover I was feeling pretty darn good. In a little over two days we had transformed our tiny boring beige bathroom (say that five times fast) into a fun striped room with plenty of style. However at that point it also become painfully obvious that the old laminate flooring was not working. Before the makeover the floor just blended in with the beige walls, making it barely noticeable. But since I painted the trim bright white, along with white and gray walls, the laminate looked pretty dingy. Bobby was actually the one who pointed it out and got the ball rolling on this part of the project, which never happens!
 |
| Yes, there is plastic wrap around the toilet. This was our fancy way of protecting it as we painted the wall behind it. |
After researching and debating a few options, we decided to head to Lowe's on Monday and check out peel and stick tile. It seemed like an easy and affordable way to do a new floor in a small space. I was pleasantly surprised with the amount of tile options they carried. Prices ranged from about 75 cents to a few dollars each, for a 12" x 12" tile. Since our room was 5' by 6' we calculated we would need 20 tiles. (5x6= 20. Even I can do that math). We ended up getting 23 just to give ourselves room for error in case we messed up one of the cuts.
When choosing a tile design we wanted one that had some gray undertones. Thankfully we were able to find one that we loved. It's called the Style Selections 12" x 12" Gray/Brown Slate Finish Vinyl Tile, from Lowe's.
 |
After getting our tiles home we did a little prep and planning. First I swept and wiped down the floor to get off any dust and grime. You want to put down tiles on a floor as clean and level as possible. We then layed down tiles (paper backing still attached) to see how it all looked. We also wanted to determine the best placement to avoid as many cuts as possible. We decided we would start in the center of the room and lay our tiles off centered, like a brick pattern, rather than stacked evenly on top of one another. And then, basically, we winged it! Honestly the process was pretty easy until you get to the cuts. You just peel off the back, place the edges of the tile where you want it, and then press down. The backing is very sticky, so there's not a lot of wiggle room once it's down. So just make sure you have it where you want it and press each tile firmly against the others before putting it down. We used a level to make sure our edges were lining up and that we were staying on a straight line. Here's a picture of some good progress:

To do the cuts Bobby measured very carefully, and then used a large utility blade to score the tiles. Once you've scored them a few times you basically snap them in half. We definitely learned the importance of a sharp blade. The duller the blade got the harder the cuts were to make, and the edges were rougher. We had to use sandpaper on some tiles to smooth the edges. If you look closely on the right side of this picture you can see some white in between two tiles. That is a spot that wasn't very smooth. Fortunately those spots are few and far between, and you really have to look closely to find them.

We debated whether or not to remove the toilet to tile underneath, but by that point Bobby was feeling pretty confident in his cutting ability so we left it there and tiled around it. He used a sheet of paper to make a template to cut those rounded parts. Tiling around the toilet was definitely the most time consuming part of the project, so I would probably recommend moving it to make your life a little easier.
After a three day weekend, around $38, and a little hard work we went from this:


 |
| Towels from Marshalls |
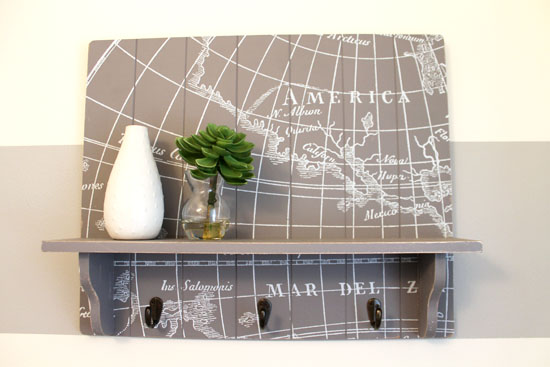 |
| Shelf from Home Goods, vase from IKEA, succulent from Hobby Lobby |
Pretty awesome right? I love our new half-bath so much. It really goes to show you what a little time, and an even smaller budget can do for a room!


That looks great! Love the stripes!
ReplyDeleteThanks Rachel! We're so happy with the transformation!
ReplyDeleteSuper cute! Love those peel and stick tiles. Popping over from Decor and the Dog. :)
ReplyDeleteThanks Anne! Those tiles are seriously one of the best deals out there!
ReplyDeleteI love those stripes! I hopped over from Michelle's link party tonight!
ReplyDeleteThanks for stopping over! :)
ReplyDelete